-
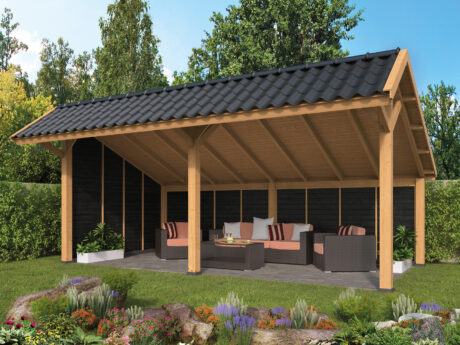
Bergen XL – Type 2 6.77m x 4.52m
Original price was: €9,596.78.€7,197.58Current price is: €7,197.58. -
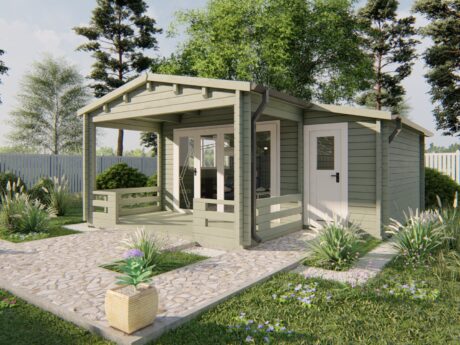
Manchester Log Cabin 4.40m (+2.17m Veranda) x 5.90m
Original price was: €16,043.81.€12,032.86Current price is: €12,032.86. -
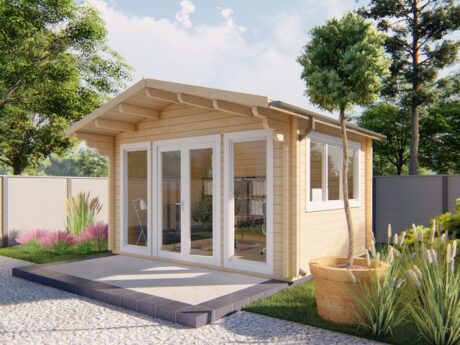
Log Cabin Blackpool 4.40m x 3.40m + 0.80m Overhang
Original price was: €10,565.45.€7,924.09Current price is: €7,924.09. -
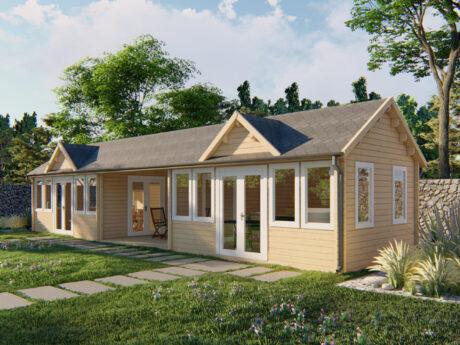
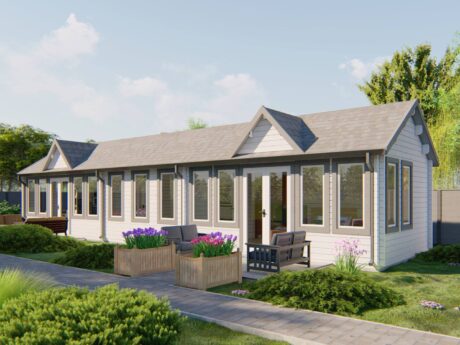
Log Cabin Clockhouse F0514 14.60m x 4.00m
Original price was: €48,067.13.€36,050.35Current price is: €36,050.35. -
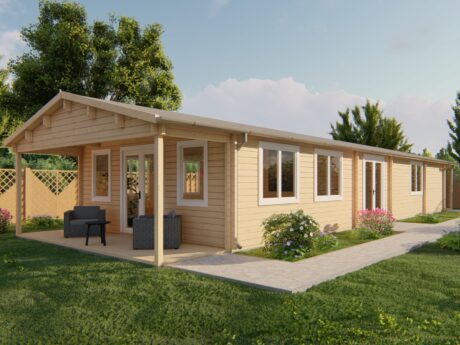
Clock House Drumahoe 15.00m x 4.04m
Original price was: €42,226.55.€31,669.91Current price is: €31,669.91. -
Log Cabin Cashel 16.00m x 4.00m MT Overhang
Original price was: €64,257.52.€48,193.14Current price is: €48,193.14.